Part 15: Burma: January 11, 1942

Everything is going according to plan so far, although we can hope for better progress on the route to Imphal.
Axis Turn 18: January 11, 1941
Day, Fair (Dry)
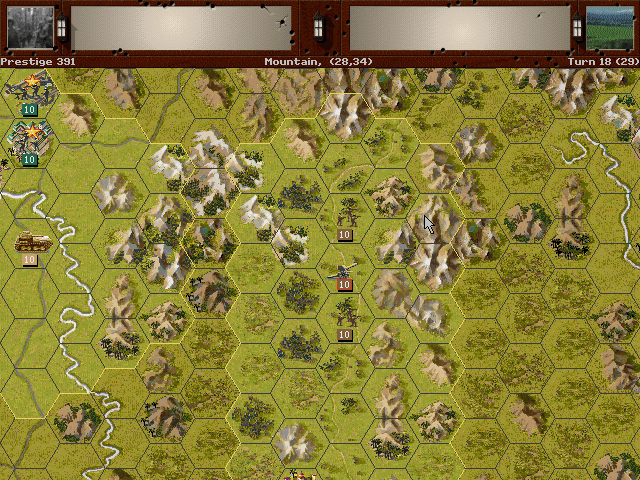
The forces moving to cut off Mandalay from the east will not be in position for several days.
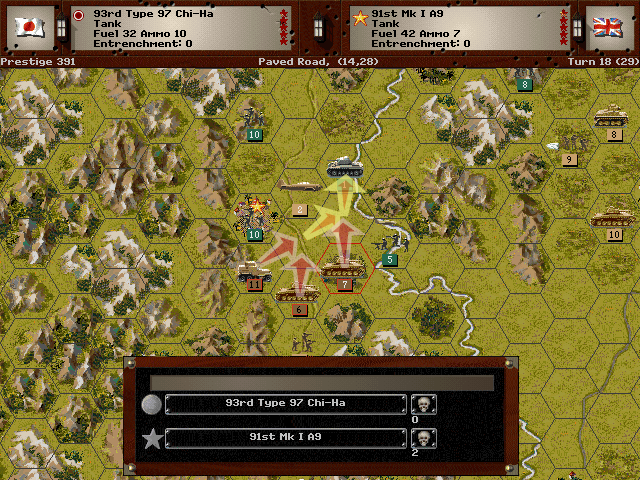
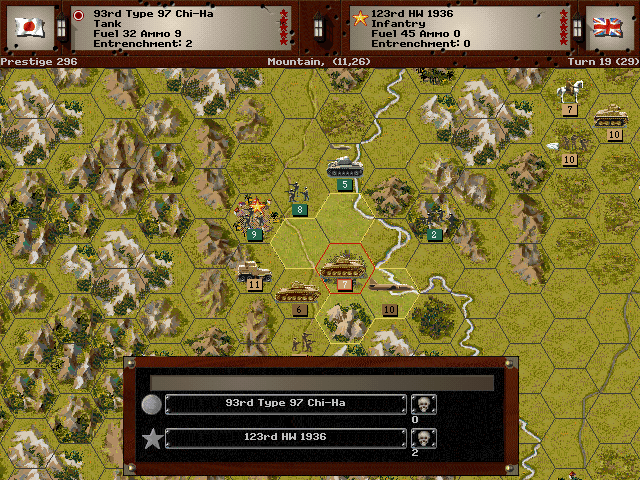
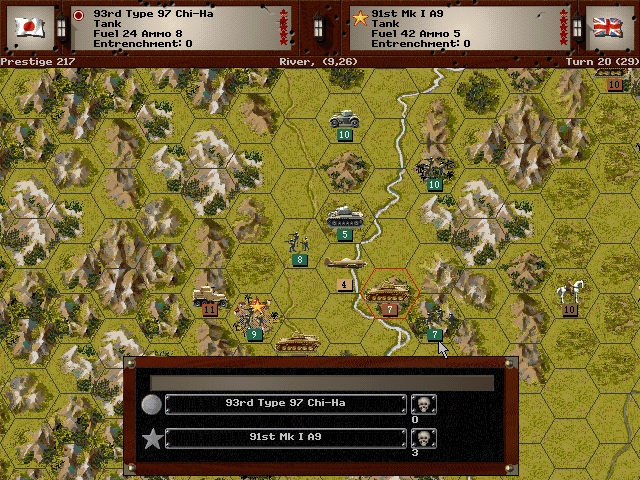
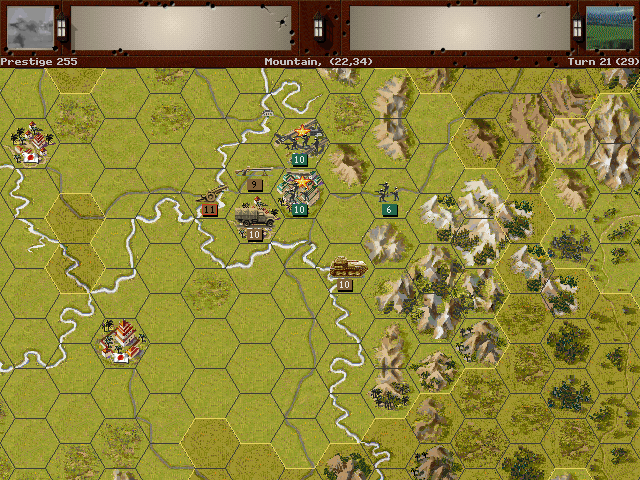
Multiple attacks on the enemy tanks manage to drive the British off the road.
Allied Turn 18: January 11, 1941
Day, Fair (Dry)
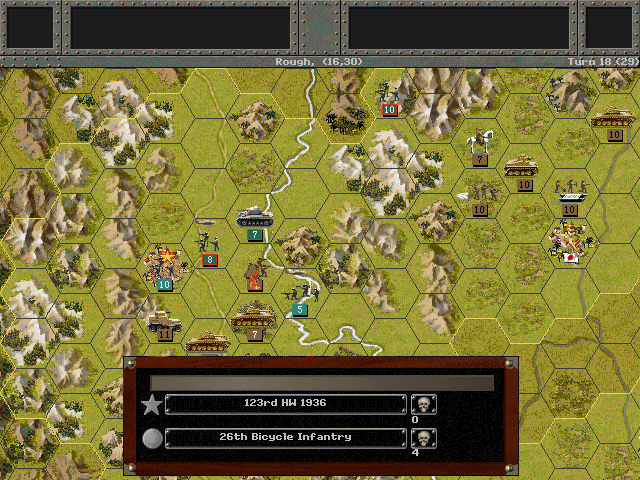
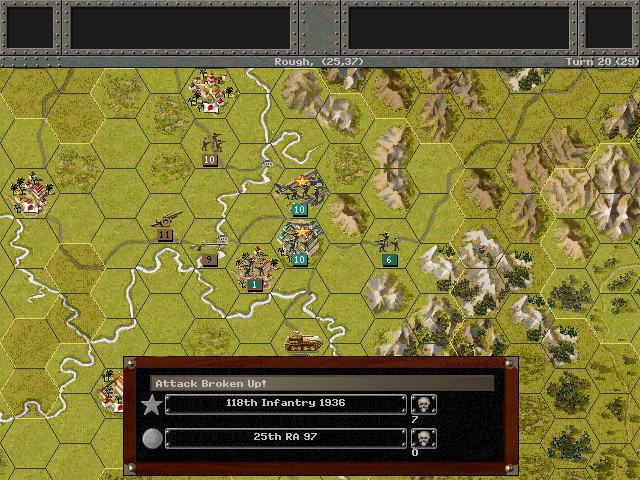
As the tanks withdraw, the enemy infantry comes forward and inflicts heavy casualties on our own soldiers. The Bicycle Infantry is nearly lost.
Axis Turn 19: January 12, 1941
Day, Fair (Dry)
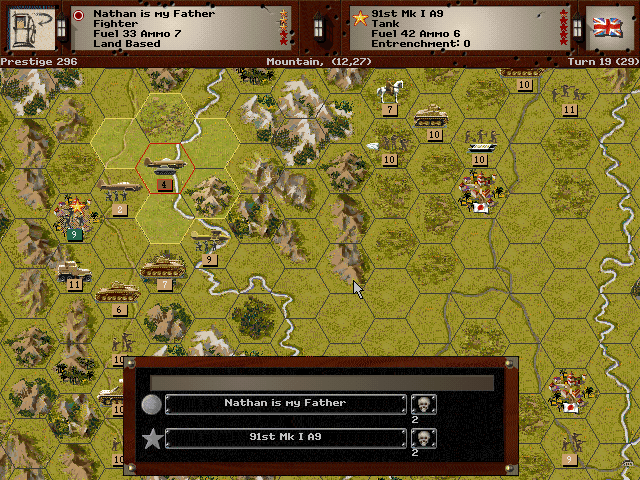
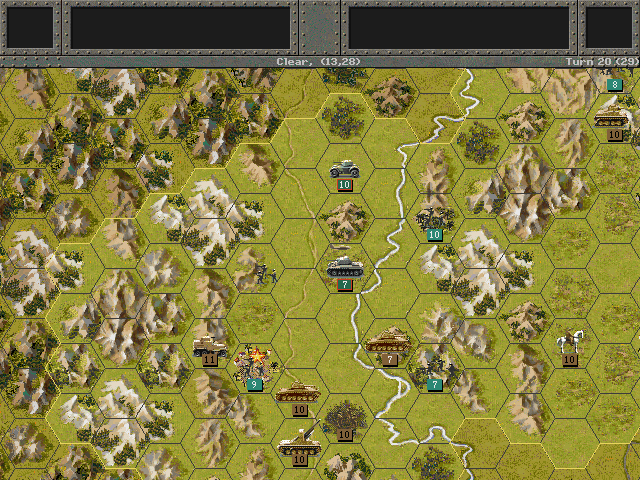
Our fighters still seem surprisingly vulnerable to ground fire. They are disrupting the enemy, but the losses on our side are unacceptably high.
We can't assault Kalewa yet, but we are clearing space to mount an effective attack. The traffic jam is making it hard to bring the artillery forward.
Some troops will need to hold back to keep the road clear, but we should be able to get to Myitkina with sufficient force.
Allied Turn 19: January 12, 1941
Day, Fair (Dry)
Combat remains heavy at Kalewa, with the front-line soldiers still taking heavy losses.

At Mandalay, the British attempt a breakout to the bridge, but it is rebuffed by our guns.
Axis Turn 20: January 13, 1941
Day, Fair (Dry)
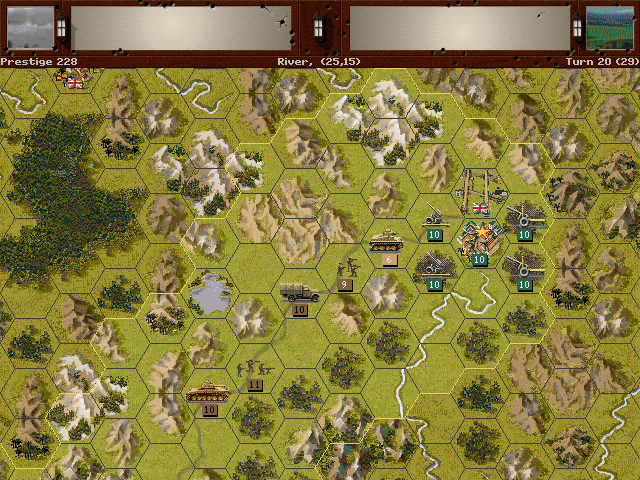
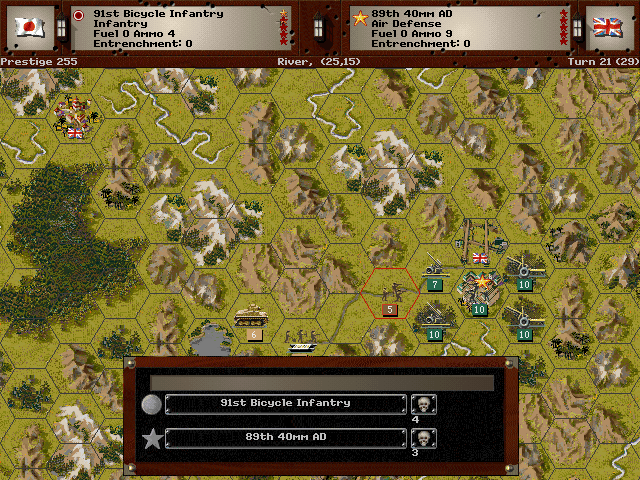
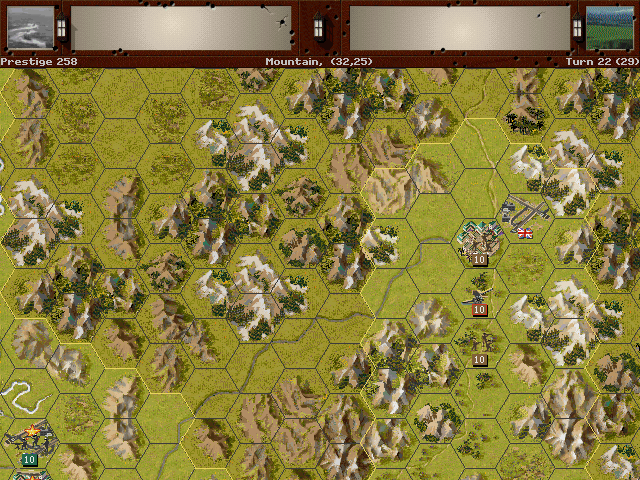
We are able to scout Myitkina. Heavy flak guns are there to protect it, along with many artillery guns.
The first step toward capturing Kalewa will be cutting it off from reinforcement.
Allied Turn 20: January 13, 1941
Day, Fair (Dry)
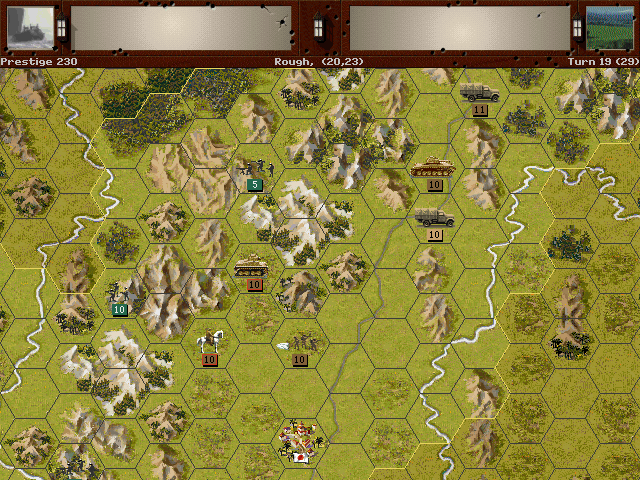
The soldiers at Mandalay seem to be growing increasingly desperate, but are ineffective as ever.
Enemy forces set up on the route to Imphal.
Axis Turn 21: January 14, 1941
Day, Fair (Dry)
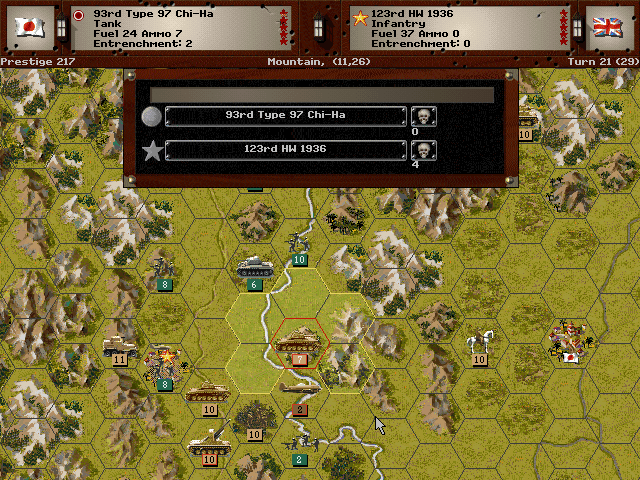
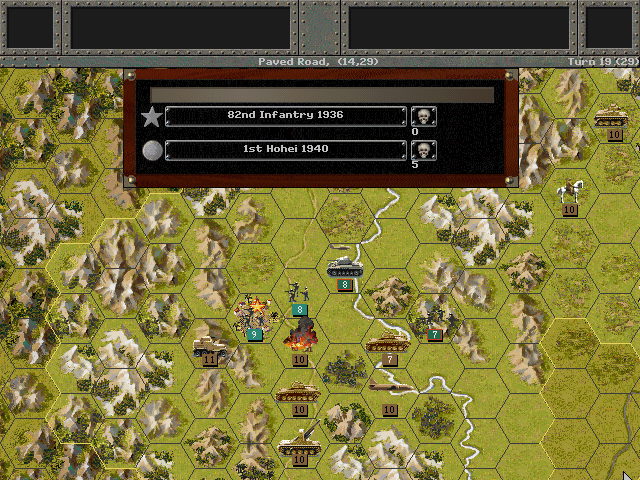
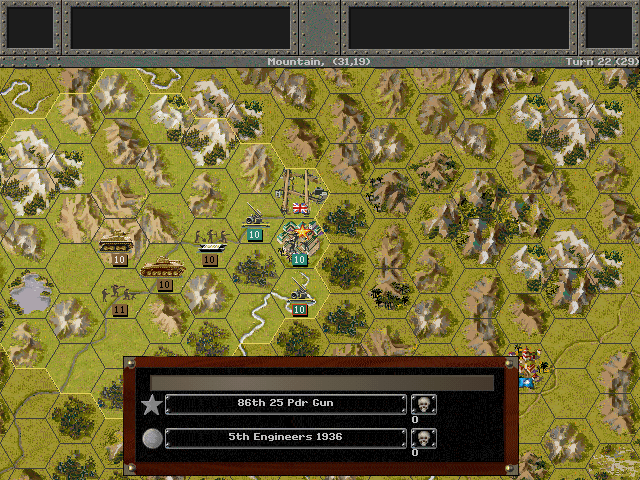
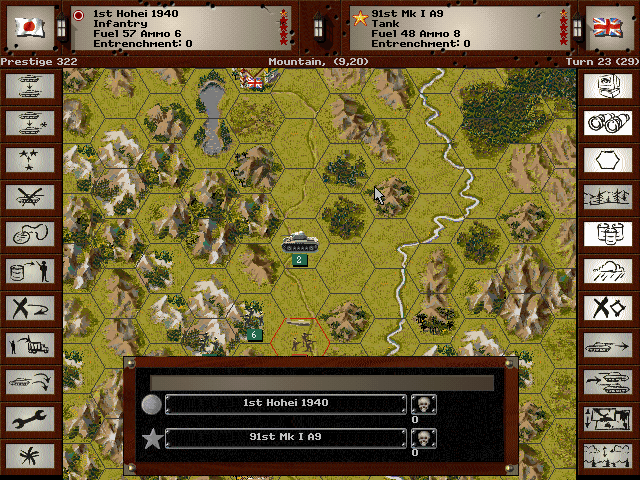
We manage to cut off one unit from the road and from Kalewa.

Then the 1st Hohei makes its attack, and after an intense firefight, it wins the battle.
Since Mandalay seems to be wearing out its forces attacking us, we take a risk and send more of our own troops over the bridge.
The first probe at Myitkina leads to roughly even casualties on both sides.
Allied Turn 21: January 14, 1941
Day, Fair (Dry)
The lead infantry elements were tired out from their attack, and unable to retreat before the enemy guns respond.
Axis Turn 22: January 9, 1941
Day, Fair (Dry)

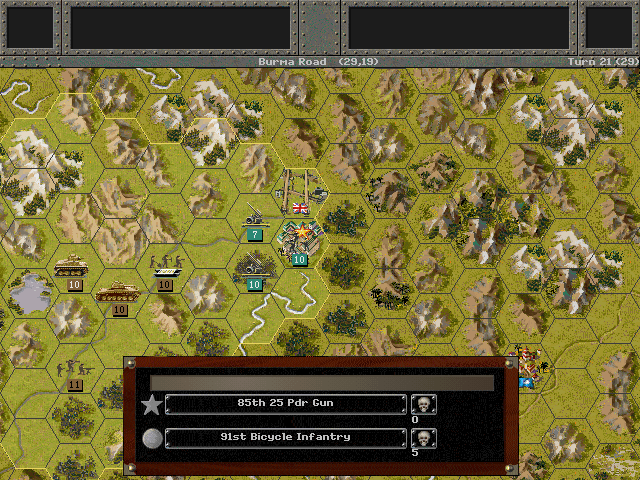
With Kalewa in our hands, we can start again to push toward Imphal. We have to fight for every inch.
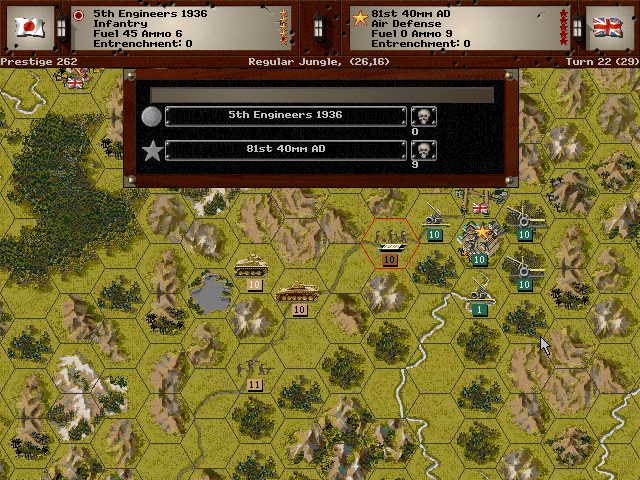
The Engineers come in after the Bicycle Infantry. They get off to a better start, and nearly destroy the AA guns before the enemy can retreat.
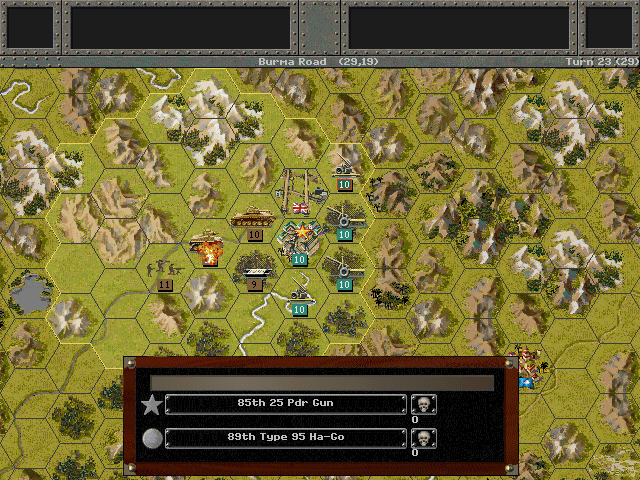
Lashio has been reached. The Burma Road is cut, and the Burmese Independence Army will get their tanks.
Allied Turn 22: January 9, 1941
Day, Fair (Dry)
This time, we are prepared for the artillery barrage that follows.
Axis Turn 23: January 12, 1941
Day, Fair (Dry)
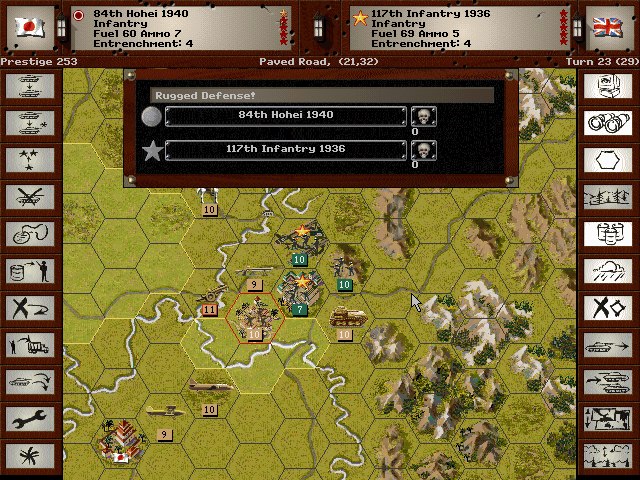
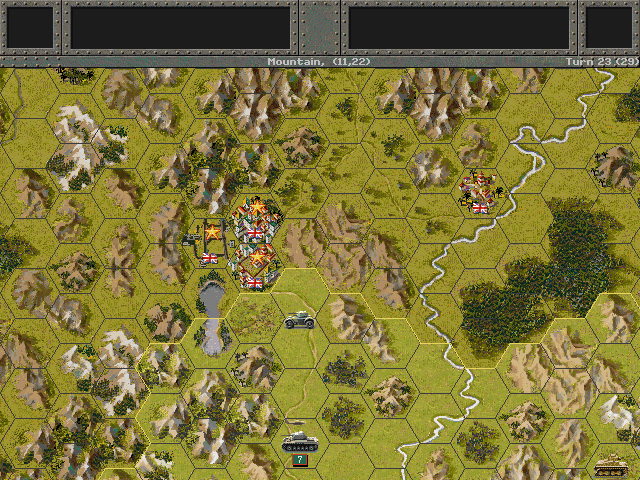
We actually take a shot at Mandalay, but the defensive position seems too tough to crack.
But the Japonies, ever capable, returned from clearing the hills to drive the enemy out of the city. [Note the arrival of the mountain guns from the east.]
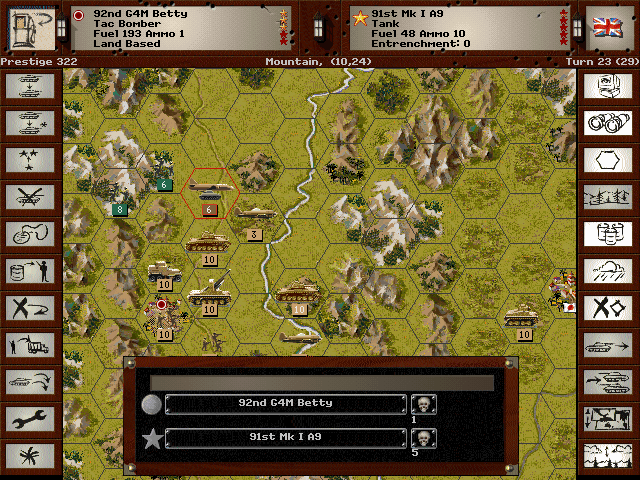
The bombers have a long distance to travel from the airfield, but they are back in action now.
With the airstrikes suppressing the enemy, we push a good distance up the road.
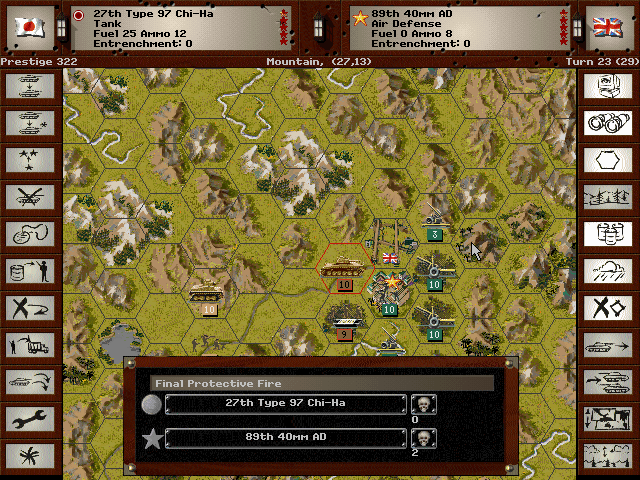
At Myitkina, we get closer to the city. We'll need to survive the bombardment from the guns if we want to have any hope of taking the town.
Allied (United Kingdom) Turn 23: January 12, 1941
Day, Fair (Dry)
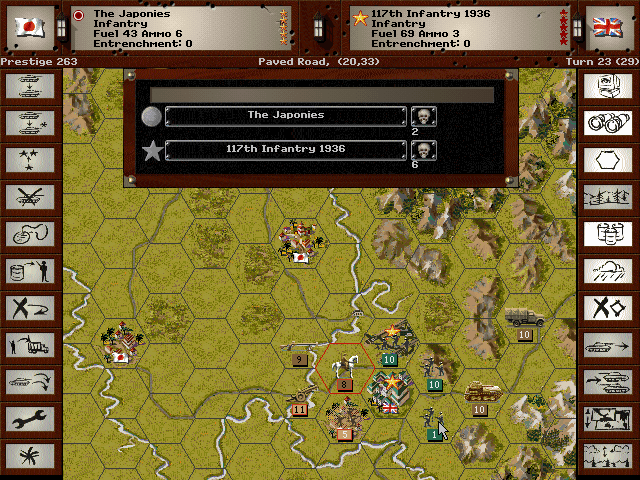
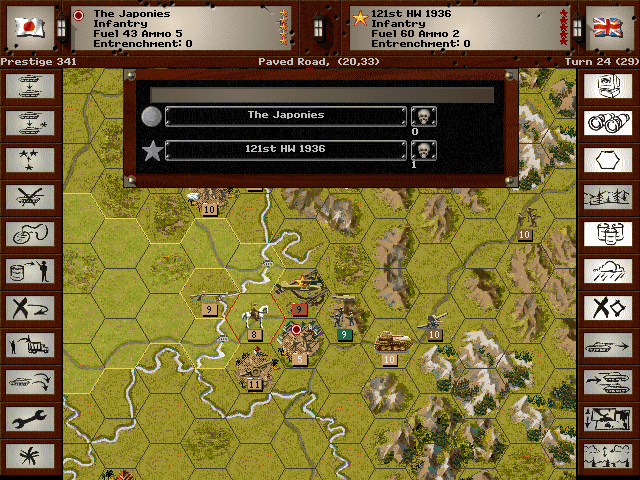
Our tanks may not have powerful guns, but their armor proves sufficient to take a shelling.
More of those Daimlers rush out of Imphal to hold the road for the recovering tanks.
Axis Turn 24: January 15, 1941
Day, Fair (Dry)
As artillery shells start to fall on Mandalay from the east, air strikes weaken the defenders of the airfield, and we capture it.
Strikes continue against the armored vehicles. It's good to know they'll be able to refuel at Mandalay, a much closer base.
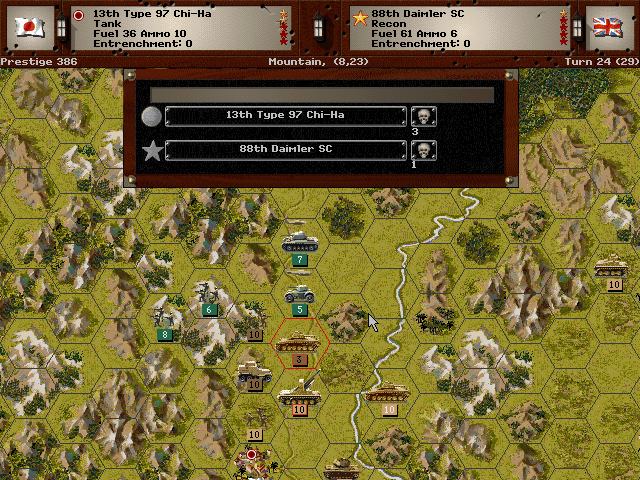
As it stands, our tanks can sometimes get into trouble fighting those scout cars. They have surprisingly dangerous cannons.
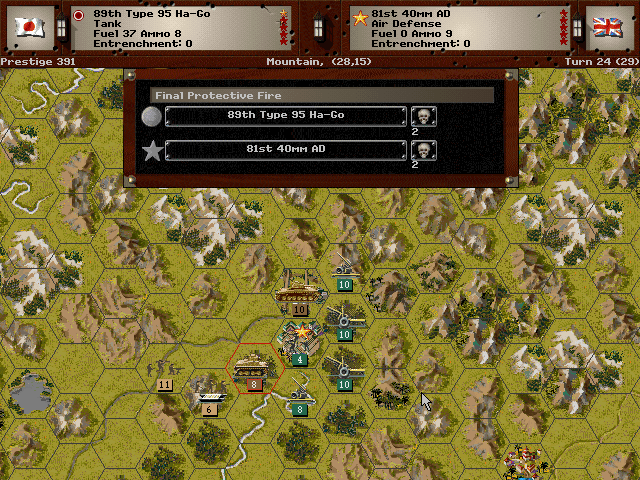
The foot soldiers load up on ammunition so they can make a drive into Myitkina. The tanks are handling all the fighting for the moment.
Allied Turn 24: January 15, 1941
Day, Fair (Dry)
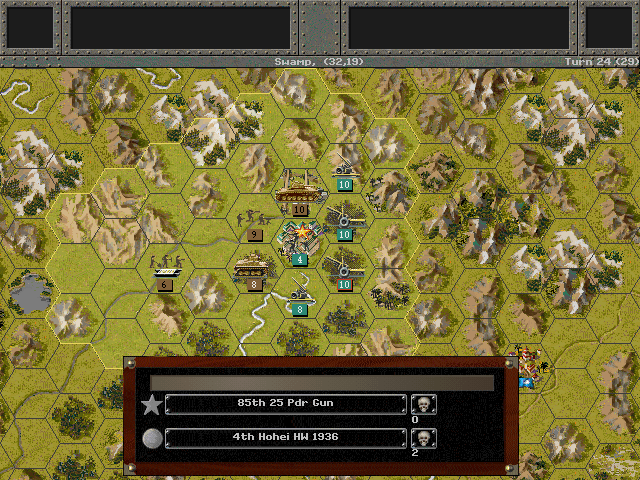
The HW infantry are holding the line for now; they aren't going to be involved in the final assault, so these are acceptable losses.
VP: 1322-742 (Decisive Victory)
With the fall of Mandalay, success in Burma is all but guaranteed. We still need to drive the Allies out of the northern mountains, and if we can, we're going to start the push into India.
Unit Spotlight
Type 91 10 cm Howitzer
PG Name: Type 91 105mm Type: Artillery
Effective Date: 7/39
Value:15 Cost:180 Spot:1 Move:1 MM:Gun Trans:Naval Fuel: -
Init:2 Range:3 SA:12 HA:7 AA:0 NA:1 GD:2 AD:6 CD:0 TT:Soft Ammo:8
This is just a standard 105mm cannon, roughly based on designs going back to World War I. It was one of the more common divisional-level artillery pieces used by the Japanese Army.
The late availability of this unit is kind of baffling, because as the name indicates, it had been around since 1931. It was used extensively in combat against China, the Soviet Union, and on into the Pacific War. There was a slightly more powerful Type 92 10 cm gun that did come later, but far fewer of them saw action.
In-game analysis: The 105mm is a decent artillery piece, at least against infantry. It's most useful on the defensive side, where it's legitimately a deterrent if it's backing up a unit with any sort of entrenchment.
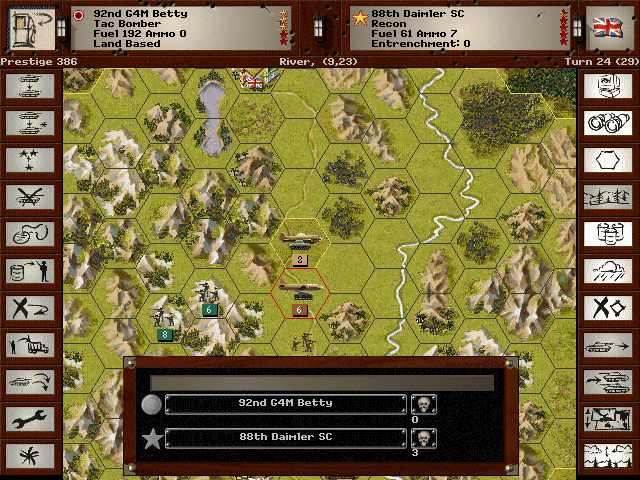
Mitsubishi G4M (Betty)
PG Name: G4M Betty Type:Tac Bomber
Effective Date: 4/40
Value:27 Cost:324 Spot:3 Move:9 MM:Air Trans:No Fuel: 229
Init:3 SA:9 HA:8 AA:[17] NA:11 GD:9 AD:9 Ammo:4
The G4M was the successor to the G3M and proved to be a much superior aircraft. It had a longer range, more power, and much better armament than the Nell, and as a result became the Navy's favored land-based attack plane. Although known as the 'One-shot Lighter' by Americans due to a tendency to catch fire when hit, the Betty was not quite as easy to shoot down as its predecessor.
In-game analysis: This is almost an across-the-board improvement on the Nell, and it makes for a far better bomber. The ferocious air attack ensures that no fighter that gets in a scrape with it will come out unscathed, and the ability to seriously hurt any surface unit make it one of, if not in fact the best early war Tac Bombers.